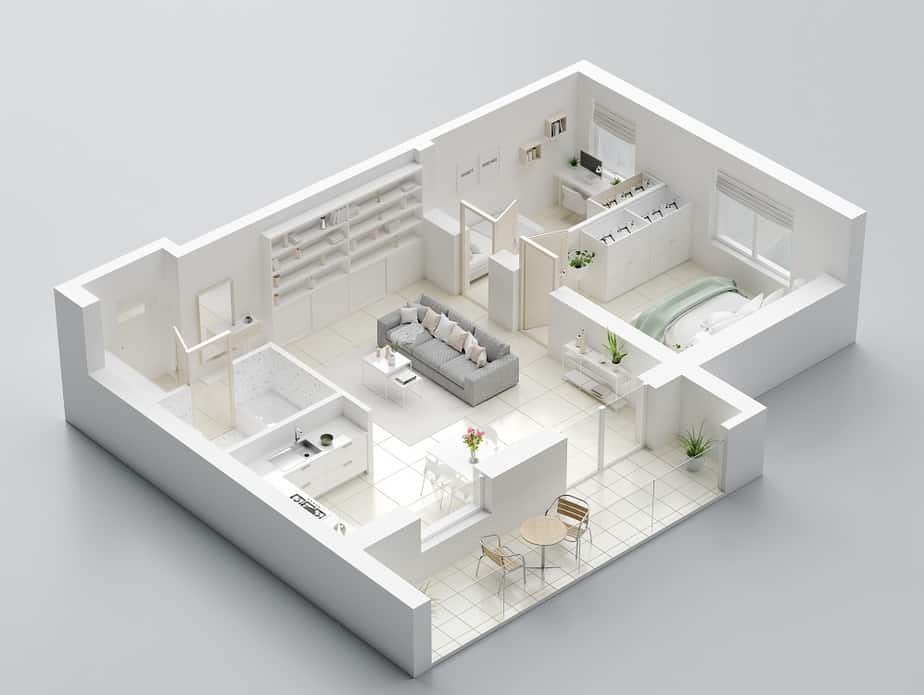
Before, we would set our ideas down on paper. Now, our ideas can come to life before our very eyes.
Enter SketchUp Pro: an easy-to-use tool for anything 3D. With this software, you can create various projects on architecture, video games, furniture, interior design, 3D printing, and many others. Using this software will allow you to take your ideas out of your head and lay them down neatly on a digital canvas.
SketchUp Pro is not the same as its free counterpart SketchUp Make, however. This Pro version has more features that add depth to the program such as:
- Walk-Through Animations – An instant preview of your project
- Advanced Rendering – Photo-realistic rendering for your project
- Construction Documents and Details – Complete details and price list for your project as a whole
- Sandbox Tools – Terrain sculpting
- Solid Tools – Advanced shape creation and cutting
- Advanced Camera Tools – The ability to see your project through a specific camera lens
- Exporting to Other Software – Allowing your project to be used in other software
- Extensions – Downloadable extensions that allow for more extensive modeling
By default, SketchUp Pro comes with LayOut and Style Builder in its package. LayOut allows you to view a layout of your project while Style Builder allows you to see a “sketched” version of your project with simulated pencil strokes.
The sheer versatility of the Pro version clearly blows Here are some tips to get you started:
1. Choose a Template
On the SketchUp start window, click Template to choose from a list of templates. Upon picking the one you like, click Start Using SketchUp to begin.
2. Understand the UI
On the top of your screen will be a set of tools needed for you to begin 3D modeling. On the right is the Default Tray, a window that allows you to view various parts of your current project. For example:
- Entity Info – The statistics of your selected shape or object as well as the color
- Materials – Allows you to change the fill of an object, giving it a more realistic texture. These textures can also be imported from an external source.
- Components – Ready-made objects for your project such as tables and chairs, lamps, etc.
- Layers – Your current list of layers for your project
- Shadows – The intensity and strength of the lighting and shadows of your project
In addition to the interface, you will have a human-shaped 2D model for scale.
3. Start with the Lines Tool or the Shapes Tool
By clicking the Lines Tool which looks like a pencil, you can create shapes by clicking anywhere on your workspace. Clicking and dragging allows you to create lines. You can stop making these lines by forming them into a shape of your choice or by hitting the Esc key.
You can also draw shapes even more quickly by clicking the Shapes Tool. This looks like a dark-gray rectangle with red points on them. Upon clicking this, you can draw rectangles, circles, or polygons with perfect measurements. This feature is quite similar to many other 3D modeling applications.
4. Use the Move Tool to Reposition Objects
By using the move tool, you should be able to bring objects anywhere on your workspace. This allows you to put any shape you made on top of or next to each other. This is also quite useful when making houses or furniture.
5. Use the Scale Tool to Change the Objects’ Sizes
The Scale Tool, which looks like a dark gray shape with a red arrow pointing at the upper right-hand corner, allows you to resize an object. By dragging the green points that appear on your object upon selecting the Scale Tool, you can use these to make it taller, shorter, wider, or narrower.
Study the Application
SketchUp Pro is reputed to be versatile and beginner-friendly. But, with many options and tools, it can be a little bit overwhelming for new users, especially if they aren’t very tech-savvy. Be on the lookout for tutorials and guides on the Internet as these could also help you with making your next dream house, video game level, or 3D printed object a reality.


